Home Hack #1 - Fabric Bath Panel
Home is where we've all been spending lots of time recently and it looks like we'll all probably continue to spend a fair bit of time here over the coming months so we thought we'd look at some fun and inexpensive ways to make subtle changes to your living space based on things we've done here at our home.
For our first post we're sharing our love of diy fabric bath panels. In our current and previous home we had some pretty unpleasant bath plastic panels and we also always seem to have a lack of storage space (we're a family of hoarders), so discovering unused space under a bath (there's more than you think!) was a welcome relief and is now home to DIY tools such as spirit levels, sandpaper, spare tiles etc...

This is our current bath panel made from excess material I printed for Good some years back, it's not my design, I was just printing the cloth for them but I love it!
 Our previous bath panel using some vintage polyester. I loved the bold print and clashing colours on this fabric.
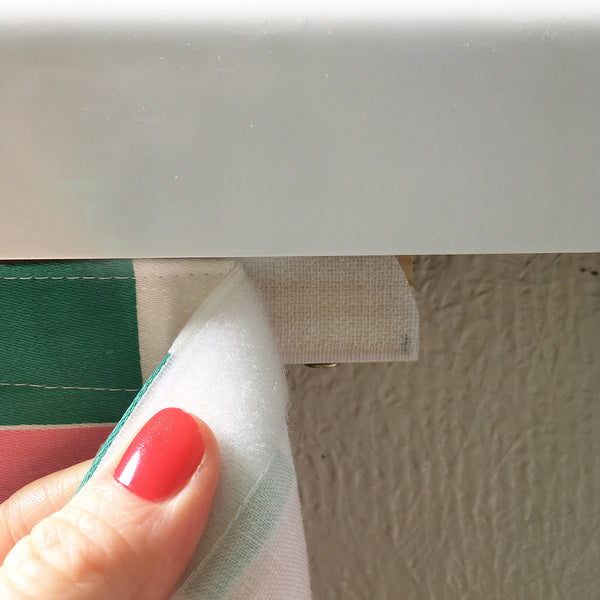
If you fancy having a go at making your own, you'll need to make sure it's possible first by checking what's behind your panel. I was lucky with my first one as the bath was encased by a wooden frame all the way round which made it easy, but our current bath had small bits of wood dotted along the top edge which allowed enough velcro to be applied to firmly attach the fabric to. I think you need something like this to stick the fabric to in order for it to hang straight.


Leave a comment
Comments will be approved before showing up.


